⚠️ WARRANTY VOID DISCLAIMER
Changing the serial number and clearing SMART info will void your warranty!
Index
- SPOOF GUIDE:
The spoofer guid includes info on what SSD's chips work and where you can buy them!
M.2 SSD SPOOFING
Prerequisites
Compatible SSD(needs a
Maxio MAP1202 Controller):- ✅ Tested SSD:
- Priventive 512GB
- Priventive 1TB
- Priventive 2TB
- 10% COUPON for priventive.de
HWIDZERO- This coupon is not an affiliat coupon, you get the max out of it.
- 10% COUPON for priventive.de
- ❓ Other SSDs (not personally tested):
- Manufacturer Link
- List Of SSD's
- CTRL + F +
MAP1202then choose.
- CTRL + F +
- ✅ Tested SSD:
Required:
- M2_SERIAL_CHANGE_TOOL.zip
- USB-to-M.2 Adapter
A USB-to-M.2 Adapter(Exapnd me to see picture)
Try to look for a "JMicron JMS583" chipset.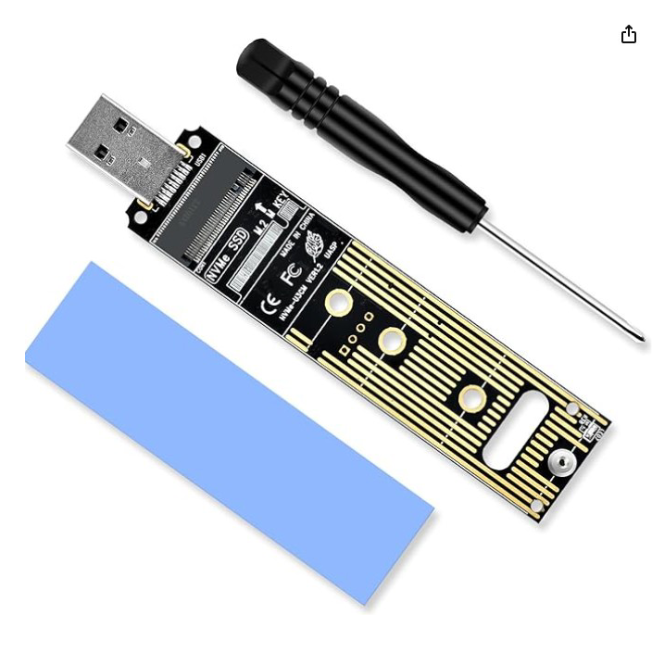
Optional:
- HWIDChecker.exe
- (Optional but recommended to check your before/after SSD details)
- A Secondary PC (with no anti-cheat installed)
- This is optinal, you can use it on your main pc, just no Anti-Cheat open/installed! 😃
- HWIDChecker.exe
Instructions
Follow these steps carefully to spoof your M.2 SSD.
Plug the M.2 into a USB adapter.
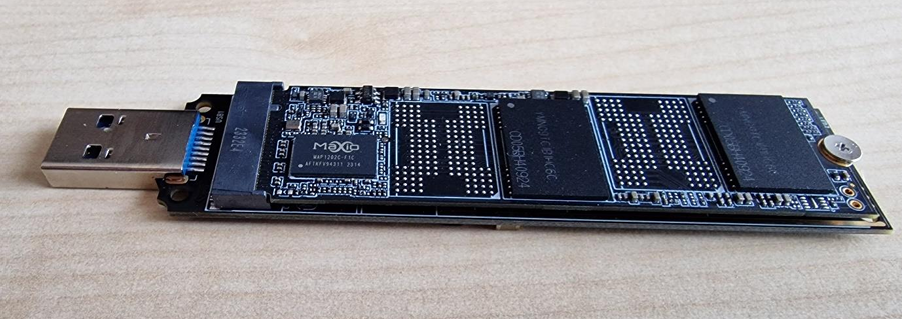
Connect the USB adapter to your SECOND PC (make sure NO ANTICHEAT is installed).
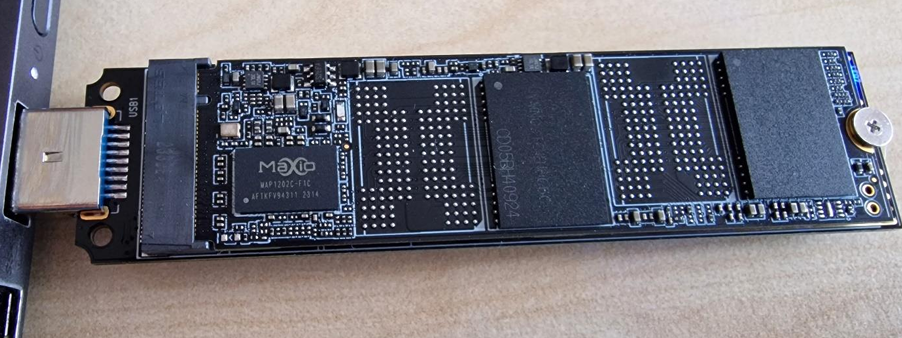
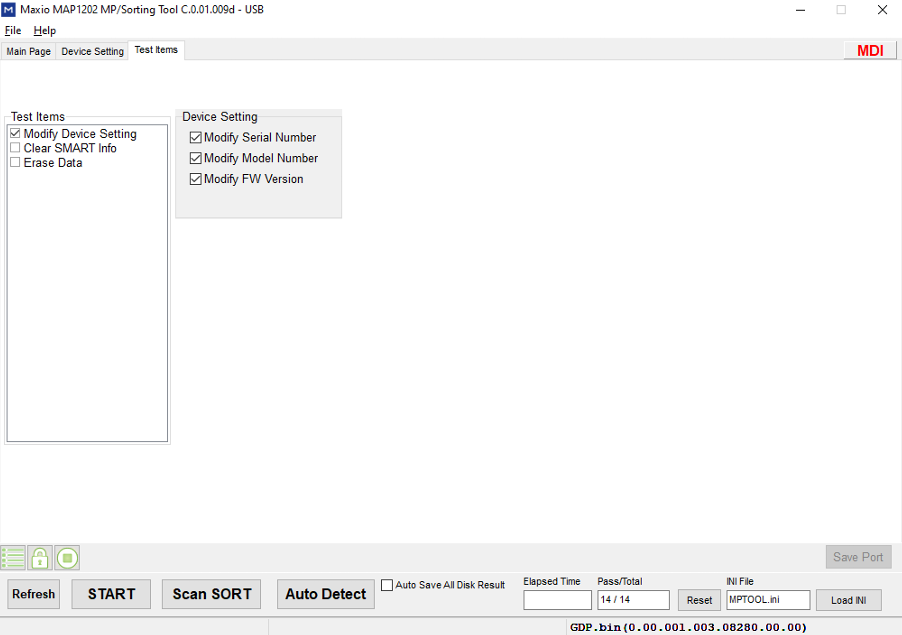
Open the MXMPTool_MAP1202_USB_V0_01_009d.exe (previously downloaded from the link in Prerequisites).
Go to "Test items".
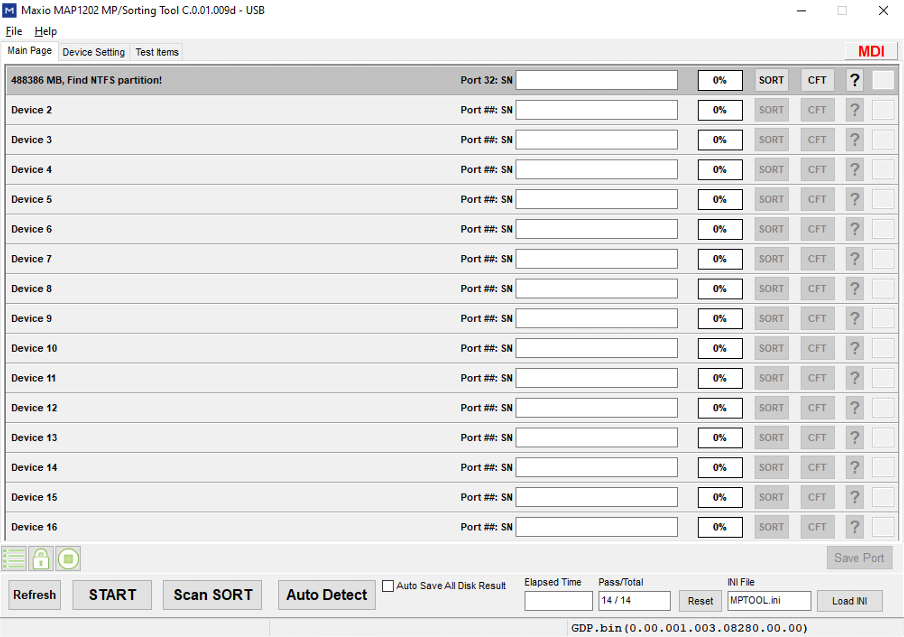
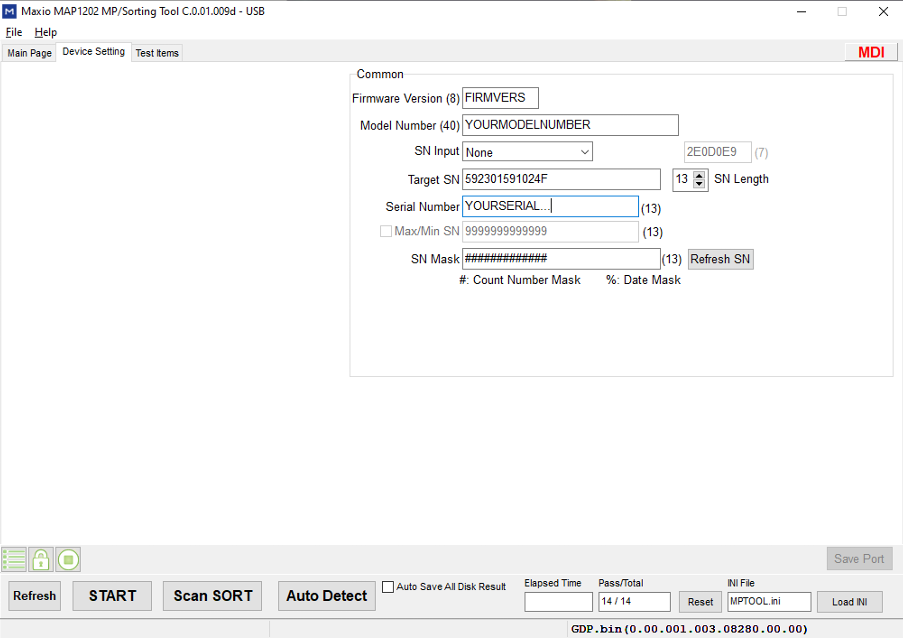
Configure it as shown in the image above.Next, go to "Device Setting".
Enter the following details (follow the recommended format):
- Firmware Version: Use only numbers.
- Model Number: Use only letters & numbers, up to a maximum of 20 characters.
- Preferred Serial Number: Must match TARGET SN LENGTH (default is 13).
Return to the "Main Page" of the tool.
Click "Start" to begin the spoofing process.
Check the first port in the tool.
- When it turns green, the process has completed successfully.
- When it turns green, the process has completed successfully.
Unplug the USB adapter from the PC.
Shutdown your MAIN PC.
Unplug your MAIN PC completely (remove the power cable).
Reinstall the M.2 SSD back into the M.2 slot of your MAIN PC.
Power on your MAIN PC.
Open HWIDChecker.exe.
Verify that your Model Name, Firmware Version, and Serial Number have been updated.
NORMAL 2.5' SSD SPOOFING
Prerequisites
- Compatible SSD(Manufacture
YANSEN):- ✅ Tested SSD:
- Priventive SSD
- Priventive 1TB
- Priventive 2TB
- Priventive 4TB
- 10% COUPON for priventive.de
HWIDZERO
- Priventive SSD
- ❓ Other SSDs:
- KingSpec SSD
- ✅ Tested SSD:
- Required:
- SSD_SERIAL_CHANGE_TOOL.zip
- A SATA-to-USB with ASMT 2115 Chipset
- Optional:
- HWIDChecker.exe
- (Optional but recommended to check your before/after SSD details)
- A Secondary PC (with no anti-cheat installed)
- This is optinal, you can use it on your main pc, just no Anti-Cheat open/installed! 😃
- HWIDChecker.exe
Steps to Follow:
Plug the SSD into a USB adapter.
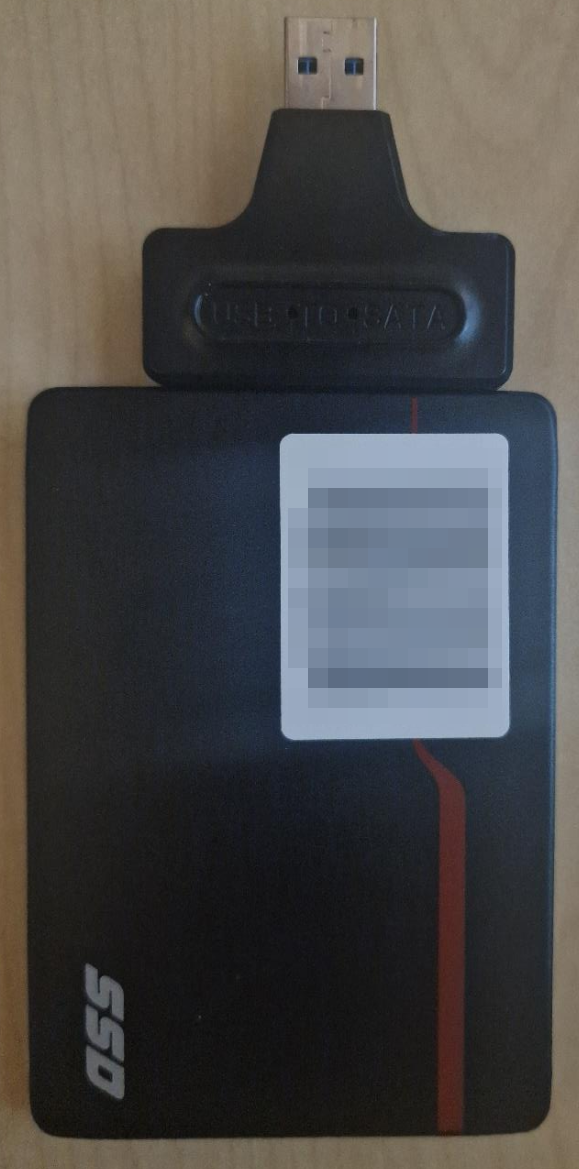
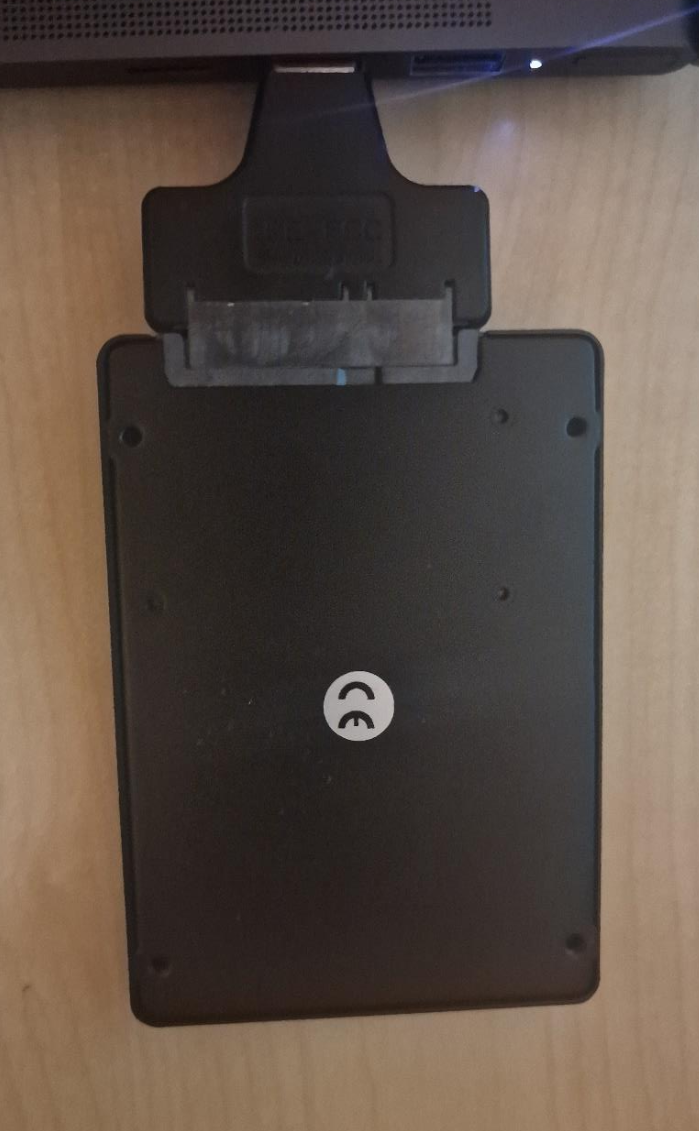
Plug the USB adapter into your SECOND PC (NO ANTICHEAT SHOULD BE INSTALLED).
Open the SSDToolKits.exe (previously downloaded from the link in Prerequisites).
Check the top dropdown to see if your SSD is detected. If not, redo all previous steps.
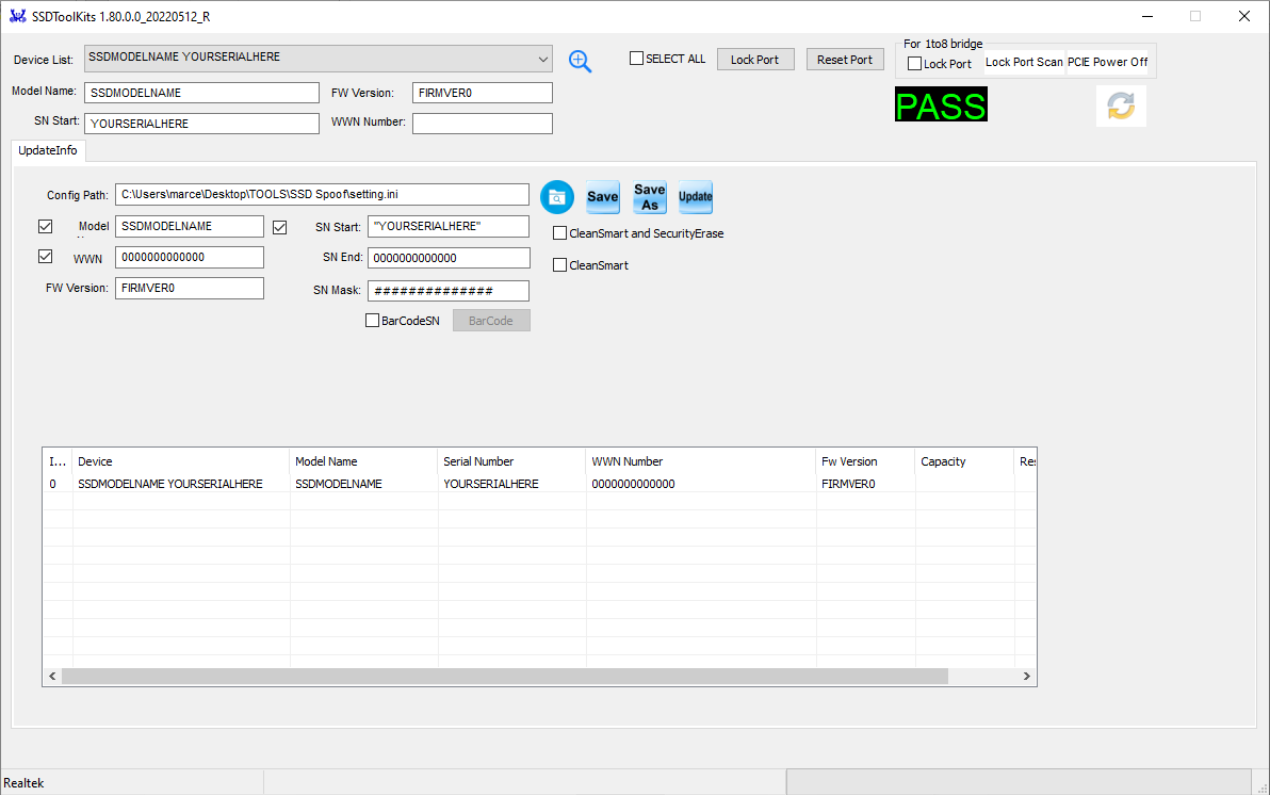
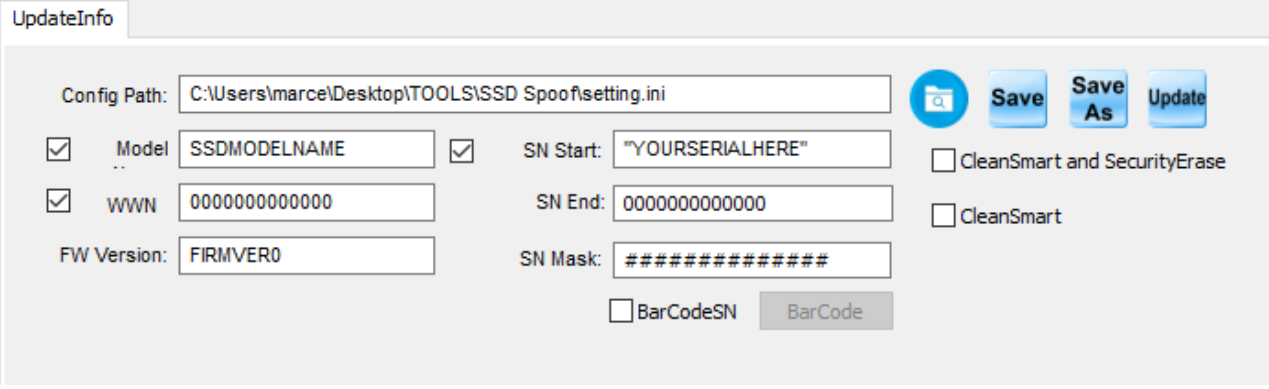
Set your preferred information as follows:
- Firmware Version: Use only numbers (FW Version).
- Model Name: Use only letters and numbers, max 20 characters.
- Serial Number: Maximum length is TARGET SN LENGTH (default: 13).
- WWN: Not needed, but you can edit.
Click "Save".
Press "Update".
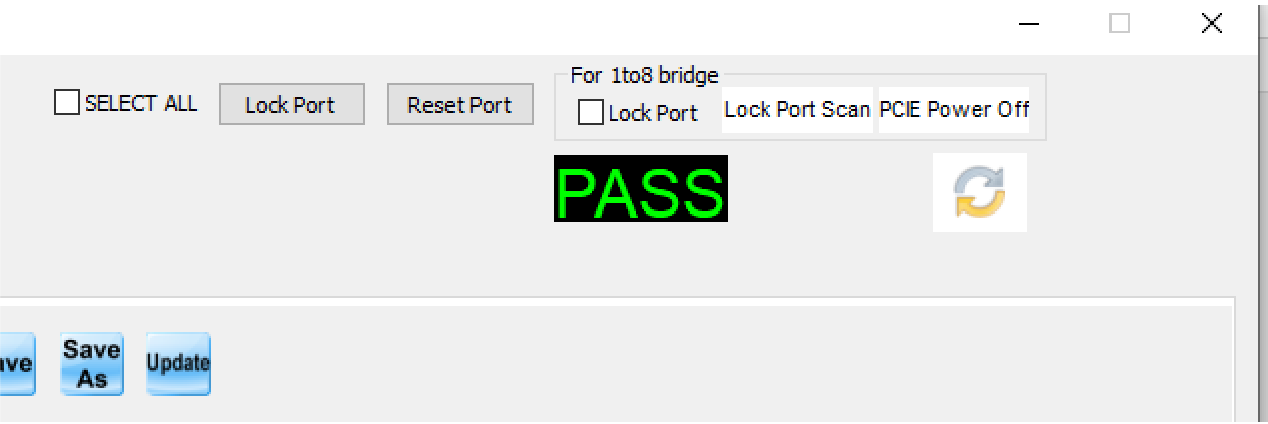
When the program shows PASS in the top right corner, everything succeeded.
You should now see your updated Model Name, Firmware Version, and Serial Number.
Unplug the USB adapter from the PC.
Shutdown your MAIN PC.
Unplug your MAIN PC completely (remove the power cable).
Reinstall the NORMAL SSD back into your MAIN PC.
Power on your MAIN PC.
Open HWIDChecker.exe.
Verify that your Model Name, Firmware Version, and Serial Number have been updated.